So, since many of my coworkers travel a lot and love the sushi found in America, I decided to put together a sushi workshop to show them how to make them. They didn't believe it would be that easy. Sushi is really easy to make but it is time consuming to prepare everything for assembly. You can really work your imagination and mix whatever you want in the maki rolls.
I'll explain to you how to make the sushi rice since it is the most important part. It is really simple but takes a bit of time to do. I read somewhere that sushi comes from su and shi; su meaning vinegar and shi the art of. Sushi therefore means the art of using vinegar and refers to the rice.
Sushi

Sushi Rice

Ingredients:
3 cups of sushi rice
4 1/2 cups of water (follow your rice instructions, mine call for 1 1/2 cup for each cup of rice)
1/3 rice vinegar
2 tbsp of sugar
1 tsp of salt
In a large pot, add some tap water to the rice. Mix and rinse well. You can see how white the water is here.

Repeat until the water is clear (about 5 times).
Drain the water. Add the 4 1/2 cups of water and let the rice rest for about half a hour.

Cover and heat at hight until the water boils. Reduce to a simmer and cook for about 15 minutes. Do not remove the lid. The rice vapor cooks as well. If you feel it might stick, move the pot in circle to move the rice.

In a small sauce pan, add the vinegar, sugar and salt. Heat lightly to mix it well together. Do not boil.

When the rice is cooked, let it rest for about 15 minutes.
Remove the lid and using a thin wooden spatula, place it into a flat wide dish (you have special wooden ones)

Add the vinegar mixture.

Now, some of the Japanese traditions say that you need to use a fan and fan the rice while mixing the vinegar mixture. Since I don't have that many hands, I just open my window (lots of cold wind comes in) and mix it on the window stall. Works the same and I don't have to fan it the whole time ;)
The trick to mixing is by "cutting" with the edge of the spatula and flipping the rice around. Do not stir as it breaks the rice and releases the starch.
Let cool until room temperature and your rice is ready to use :)
Ok, sushi time :) After making 3 times the rice quantities (total of 9 uncooked rice cups)
Tools you need:
Bambo mat wrapped in Saran-wrap (helps a LOT when cleaning)
Nori (seaweed)
sushi rice
fillings
bowl with water (to moist your finger so the rice doesn't stick)
Fillings I used:
Salmon
Tuna
Smoked Salmon
Crabmeat
Shrimps
Eel
Butterfish
Flying Fish Roe
Avocado
Cucumber
We made a few of the typical sushis:
Philadelphia: Cream cheese, salmon or smoked salmon, avocado
Boston: Shrimp, crabmeat, avocado, cucumber
California: crabmeat, avocado, cucumber
Spicy tuna: Spicy tuna (mayo mixed with chili sauce), cucumber
Eel: Eel and cucumber
Teriyaki chicken: Teriyaki chicken and cucumber
And so many more creations!!!!
Now, you need to prepare your fish or filling into 1cm wide strips.
Ok, for those with Anisakis scare: buy fresh fish from a market and freeze it for minimum 24 hours. Thaw it in your fridge and use it. Freezing it for that time kills the anisakis if there is any in the fish. Also, when they cut the fish, you can usually see if there was anisakis in it (small round dark worms). I've seen them and they are noticiabl
Here is how you prepare the maki rolls.
Place the nori sheet on the bambo mat. Here I am explaining the process.

Wet your fingers with water and grab some rice. Spread a fine layer of rice sticking it to the nori sheet. Rewet your fingers if it starts to get sticky.
It is easier if you fill the side of the nori sheet and them proceed to the center. Do not make it too thick otherwise you'll need a gigant mouth to actually eat the maki pieces :)
If you are making a regular roll, leave about 1 cm of seaweed at the top uncovered.
At the bottom part, add your filling lenghtwise, Andrea here added salmon, strawberries and cream cheese (a wonderful creation by the way). Using the mat, fold over your filling while holding it with your fingers in order for it not to fall and bring the bottom part of the seaweed to stick to the rice. (there is a bit of rice missing on the sides but I completely forgot to take pics and this is the last roll that was made, so ran out of rice!!!)


Continue rolling removing the bambo mat from the roll.

And there you have it!

If you are doing an inside out roll, fill it completely and flip it around (rice down onto the bambo mat).Here is Miguel preparing one (spicy mayo, salmon and avocado). The rice has already been place and flipped over.


The rolling process is the same. The fun part of doing an inside out roll is being able to cover it with sesame seeds or roe and make it funky. Here is Miguel's creation with Flying Fish Roe.

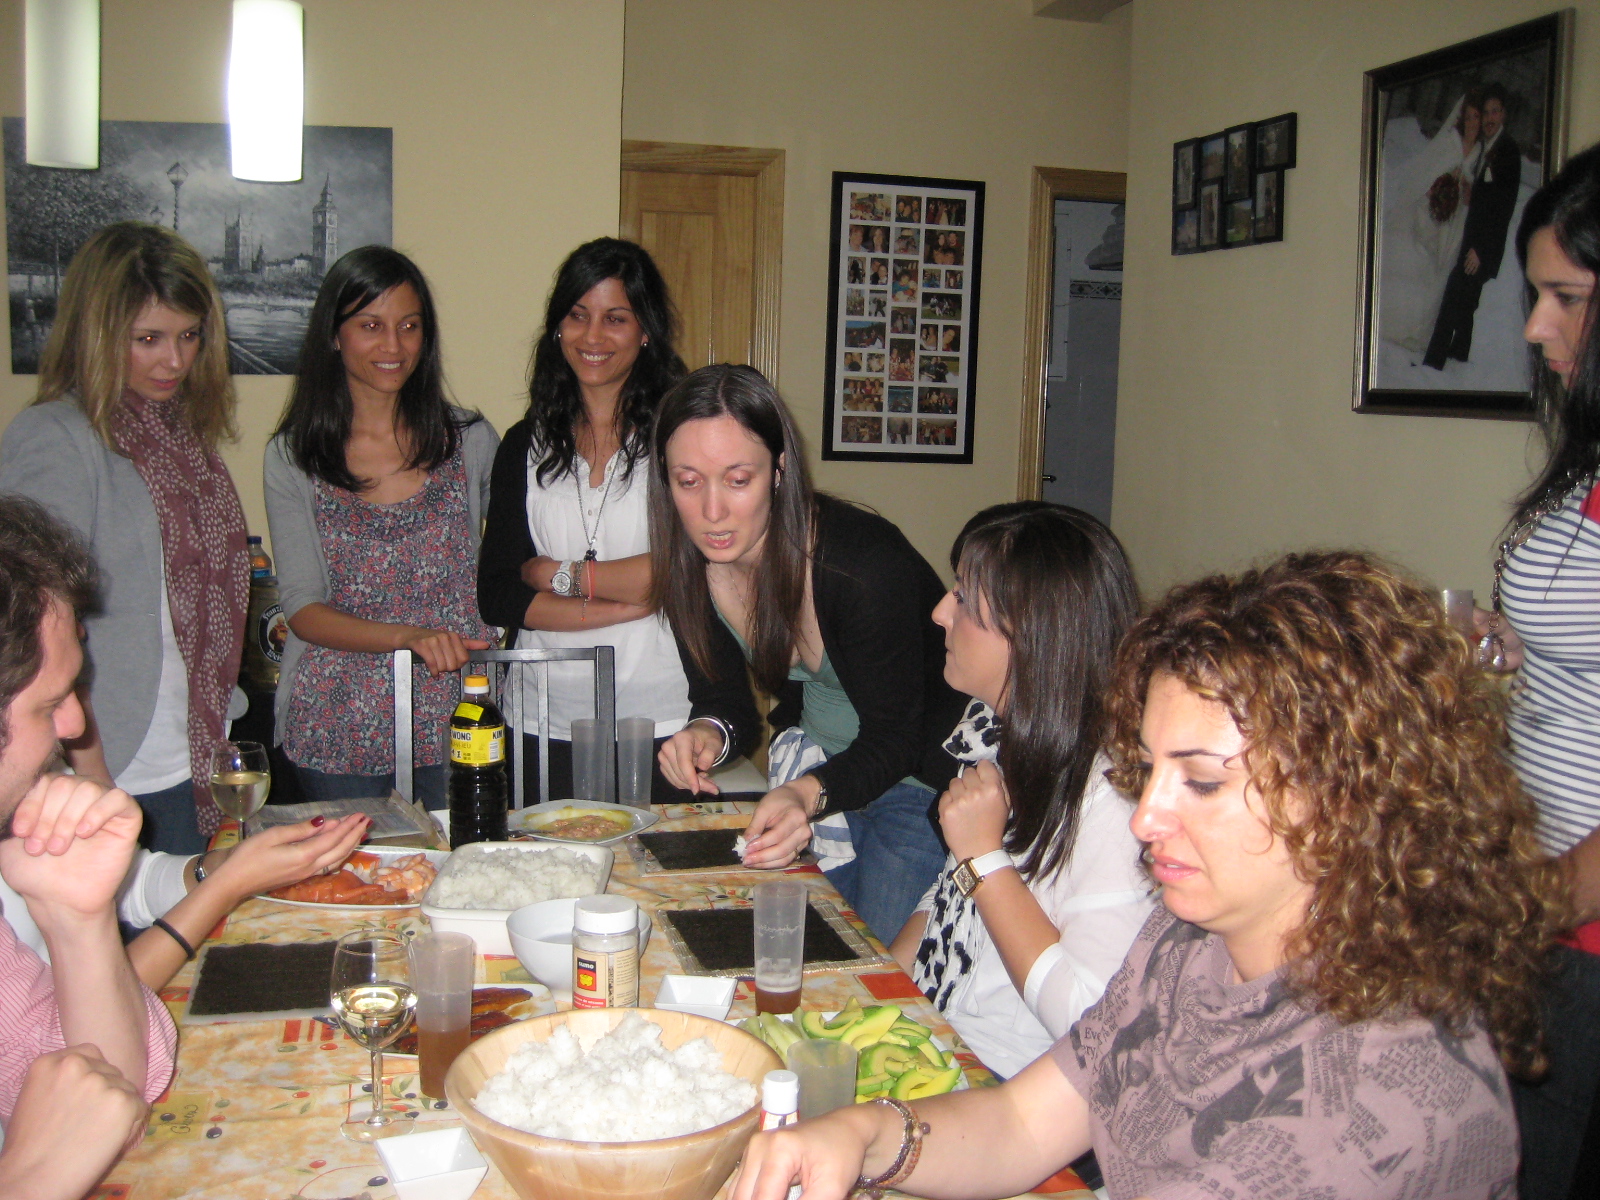
Everyone hard at work. You can really see here the rice, filling pieces and the inside out roll being made on the right side with the rice.

Cutting a regular roll.

An inside out roll.

Platting them is super fun. I make piles of the same type of sushi together and top them off with the ends of each roll. One roll can give you between 8 to 10 pieces.
Here you have a few of their creations. Spicy tuna, cream cheese and tuna, butter fish, shrimp rolls.

Strawberry and salmon, philadelphia, chicken and spicy tuna... Can't you tell we had fun ;)

Thanks to Rosa for the pics! She was a life saver for the blog :) Thanks also to her, Miguel and Maricarmen for taking over the maki roll making process while I cut the 27 (yup! you read correctly! 27 rolls x 8 to 10 pieces: about 240 pieces of sushi!!!) rolls. I could not keep up with them! We seriously had some major process line going on :) Loved it!!!!
And here is the final result with the gyozas and sashimi. Sashimi is raw pieces of fish cut thinly (plate on the bottom right of the table). You can also see the Nigiri pieces. It is a bed of sushi rice topped with a thin piece of fish. Making them is really easy. Place rice in hand, shape it and add the fish on top.

And the wonderful sushi making crew.

Having fun.

And ready to eat :)

Let me just tell you. It was AMAZING SUSHI!!!!!
Thanks to everyone for coming over and making this night a HUGE success. We finished it off with some Caipirinhas and strawberries :) Miam!
At the end, a few people could not make it so we had about 40 pieces left over. It made for a perfect lunch the next day. Sushi can perfectly be eaten the next day if kept in the fridge. Remove it about 1 hour prior to eating and there you have it :)
And for those that have extra fillings, which happened to me (tuna, salmon and chicken), marinade them in the fridge and grill them the following day. I used my raclette and David and I had a wonderful lunch together completed with eggplant, shitake mushrooms and leek.


jajaja no me lo creo que miguel, adolfo y eduardo se han puesto a preparar sushi!!!!
ReplyDeleteUn abrazo a tod@s!!
Miguelito Gafas (Michele Grosso ;)
Michele!!!!! gracias :)
ReplyDeletejejeje pues a Miguel le encanta y ya sabia como hacerlo!
Edu y Adolfo lo han pasado muy bien con sus inventos (el de spicy tuna y teriyaki chicken es invento de Edu) :)
Un beso!
Thanks for the tutorial!!
ReplyDelete- Sarah, another WBer )
You're welcome Sarah! Glad you enjoyed it :)
ReplyDelete